Monday, February 18, 2013

The Button Lamp Shade


You will need
Flexible wire that will fit through a button
 Lots and Lots of buttons, I used white and cream mostly, a few brown and black.
Sturdy Metal Lamp Shade Frame.
Something to wrap around the frame to hide the wire when done. ( yarn, leather laces, ribbon)

I used a floral wire, a very long piece, like 4' long.  I then treaded lots of  buttons through two holes on each button to keep them straight, when I had enough to span inbetween the spines on the shade, I wrapped the wire around the spine twice to hold the wire in place.  Do not cut the wire unless you have to.  You can make it spiral or just circle around evenly.  I did both for a fun look.  It takes a while so don't give up.  Remember, they did not see mine, so they will think you are AWESOME! 

 When done with the buttons, remember it is not a quick project, take your selected type of wrap for the frame and fold the end over where you will be working, begin  to wrap, catching the end as you go.  Wrap every part of the shade, hot glue ends if necessary.  When done use a clear bulb, 60 watt.

You are awesome!

Hugs, Nancy

How to make Table Runners


Table runners are pretty simple.  

You will need one strip of fabric or burlap 8" longer than the length of your table, 14" wide.
You will need two pieces for the ruffle on each end 13" Long and 24" Wide.
Matching thread
Sewing Machine

Press the long edges under 1/4" all the way down each side.  Turn under another 1/4" and press again.  Stitch down both sides with matching thread and a bit longer than normal straight stitch length, about a 3.

Press the bottom and ends of each ruffle piece 1/4" and 1/4" again, as above.  Stitch down.  Using the longest stitch, gather the unhemmed edge, making note of which side the bobbin thread on on.  Make two rows of stitching, close together,  pull these threads to gather.  Repeat for other ruffle.

Pulling the bobbin threads makes gathering easier.  DO NOT pull the threads on one side and then pull the ones on the other side.  It will LOCK the stitches and you will have to gather again.

Pull stitches up to fit the end of the table runner.  With right sides together, raw edges touching, pin and then stitch across where the gathers are.  Make a top stitch just above the ruffle, catching the seam as you go so it will lay flat.

Play around with top curtains with pretty edges, lace, another color fabric, muslin, burlap.  Make it for a gift or to add something special to your decor.  Have fun.

Hugs, Nancy

Monopoly Money Wreath


This one is pure fun.  

You will need one 10" straw wreath
Lots of Monopoly Money
 Hot glue
Wire or large paper clip for hanging

Make a ring of 4 layers of wire, big enough for a wreath holder or use a paper clip, wire one or the other to the wreath before starting, hot glue to stabilize the hanger.

Starting at the bottom of the wreath, glue a row of paper money ( make the money go the same way), vary the color for interest.  Continue gluing the money around the wreath, close together, not overlapping but touching until you reach the top.  It looks stupid, that's ok.  Now glue a layer to the inside and continue to fill around the circle until the layers meet.  It still looks stupid.  Glue one final row over the ends all the way around.

Now the fun part, crunch all of the money all the way around.  Crunch it a lot and then crunch it more so it will be full and look cool.  See, no longer stupid but full and fun!

Hugs, Nancy

Paper Cone Wreaths


Paper cone wreaths are such fun!  I love taking a book apart and then being creative and seeing how I can make it different.

Have you tried using the chipboard ring from Michaels.  It stabilized the wreath and makes it easier to work with.  Use a paper clip or twist several layer of wire, wrap them around the ring and make a loop.  Hot glue in place.  You will use this to hang it when done.
Hot glue does wonders in making the cones.  If you are making a single layer then just mark off four equal places around the ring, set aside.  Roll a lot of pages with tight cone ends (like a waffle cone) and hot glue the overlap.  You will need lots of them.  Place one cone on each of the four marks.  Make sure they meet in the middle for a single layer.  Glue in place.  Repeat all the way around.

For two layers, measure the first row 2" out from the center with the same four marks on the ring.  Glue one layer all the way around.  Now measure how far in to make the second row with centers touching.  Glue this row to the first one.  

If you want to make the all over one, make the first two rows with cones you have cut the tight ends back 1".    You will need to cut more from the ends as you make it round.  As you go, look at the shape and make sure the lengths are making it rounded.  You can burnish the edges, color them pink, put stamping ink on them or just leave them alone.

Hugs, Nancy

Thursday, February 14, 2013

A New Look

 
I love mirrors.  I buy them all the time and wish I could keep everyone of them.  This one is especially pretty with a bot on the top and bottom, all the carvings in the wood.  The silver tones are just lovely.
 
This one also caught my eye.
My daughter refers to this one as Beauty and the Beast.  I love the deep laurelest carvings and the ornateness of the whole shape and details.  It is heavy and large but so eye catching.  I just had to have it.
 
I try to have several mirrors in my booth at Merchant Square Antique Marketplace at all times.  I feel if I like them, you will too.  Inspiration is everywhere.  Come by and take a look.
 
Hugs, Nancy


Monday, October 29, 2012

Antique Eye Glasses

 
There are 10 eye glasses with cases available for reasonable prices.
Merchant Square Antique Marketplace
Booth 104
Chandler, AZ  85225

Drawer to Cupboard with Shelf

This was an old drawer that could not go to waste.
 
 
It has fun stencils, removable shelf.
$42
 
Shoe last made into a photo holder
 
Two sewing cabinet drawers.


Decor Boxes


Handmade wood boxes painted inside and out with handles on the ends, stencils on both sides.  They come in White, gray, off white, black.
Empty $42  Decorated $95


Saturday, October 13, 2012

Toilet Paper Roll = Iron Gate


I want to be clear, this is not my project.  It is from Suzys sitcom.com.  I have included a link to her site with the tutorial.
 
I am including it here because it is amazing what you can do and how it looks when finished.  It  looks like the real thing.  I think it is wonderful and would gladly hang it on my wall.  Check her out, she is pretty creative.


Hugs, Nancy

Wednesday, October 10, 2012

Eastman Kodak Projector

I was looking around the other day on sale sites and came across the very best thing.  It is an 8mm Eastman Kodak Projector with a reel and the original case.
 

This has a great, fun shape that I have not seen before and it works.
 

I have some customers that are looking for exactly this type of projector for decoration.


Not everyone will have this one and it is in great condition.
 
Movie buffs and those who enjoy the movies, this is the one for you.
 
Price: $95
 
Hugs, Nancy


Tuesday, October 2, 2012

Dreams

Do you dream of things currently impossible?  I do.  I dream of being a creative painter of art works.  Things people awe over and then buy.  I dream of making wonderful rooms for people with next to nothing purchased, just creativity.  I dream of a booth full of painted furniture and people are crowding to get in so they can buy something special for their home.  I dream of dinner every night, a great book full of photos of room, dreamy rooms.  I dream of a home done in white, tan, cream, shades of gray, old wood tones, sheer curtains that blow in the breeze, lots of green grass (with a gardener of course), flowers lining paths to streams . . . .
 
I also dream of lots of paint in colors I want to use.  Beautiful furniture to love and reinvent.  Decor to make the furniture look beautiful.  Quiet time to persue those things which are most important to all of us, family, love of friends, peace, joy, belief in something greater than myself (Heavenly Father), all the things that make me, me.
 
I dream of opportunities to think outside the box, my box of safe answers to everything.  Could I paint something Bright Pink and love it?  Yes, I painted a mirror and just loved it.  Can I paint Bright Green and say "Wow, that is really a great color"?  YES I can!
 
I want to do giveaways.  I want to share what I know with others.  I want to teach classes and help others see that they are brave and can do what they know is in their hearts.  I want to help you create beautiful rooms and help you love the process.  I want to drive a great old truck, painted AQUA and love it till it falls apart.  I want a 1947 trailer that I can redo and enjoy on trips.  I want to dig for treasure and help others know that their things are valued not just for sale to someone else. 
 
What do you want to learn about?
What do you need help with?
What is your dream?
What room makes you crazy?
What can I help you with as you dream?
 
Leave a comment, let it out into the universe and see what happens . . . you never know . . . .
 
Hugs, Nancy
 

Appreciating Great Products

I want to share a couple of things with you.  I have been one of those people who only 'roll or brush' on paint with pride and simple put 'look down my nose at those who shake up a can of 'spray paint' and do it the easy way.
 
I want to apologize to all of you.  I found myself pressed for time when getting things ready for the room redo for my granddaughter.  I hurried off to Home Depot and bought Eden green, Berry Pink, Black and Heirloom White Rustoleum spray paint.  The headboard when black, I has rolled one side but just could not get back to it again and make it look good.  One can of black and a stencil and it was finished and I was happy.


The cute desk was a funny green. We sanded for hours to get the rough paint off the top for a smooth writing surface.  I used one coat of flat paint on the sanded top, this is not how it looked when we were ready to paint.  I sprayed the whole  piece Eden Green.  It looked wonderful.  Every little corner was covered.  I put a stencil in the corners and done.  The inside of the drawer was painted Berry Pink for a fun surprise.  


I used this great Frogtape around the edges of the mirror so it would be easy to remove once I was done.  Fantastic tape.  Love it!.  It peels off with no residue, no little bits between the frame and mirror.
 

This mirror was sprayed as well.  It turned out great!
 
 
Thank you for great products that make my job so much easier to do.
 
Hugs, Nancy


Saturday, September 29, 2012

Custom Curtain Rings from Shower Hooks

I thougth it might be easier to show the finished product and they explain what we did.
 
I found a package of plain wood button shower curtain rings.  That looked like a project for the children.  They were $3.30 at the thrift store.  The granddaughters painted the wood after I sprayed them with primer and it dried.  The curtain was many colors so we let them choose what to do.  We ended up with 12 hooks painted, hot pink, white, light green, black and purple.  After drying, I sprayed them with a clear coat to protect them.  The $5.00 curtain rod was hung and the hooks were put through the button holes I made in the top.  It was fun and cute, cheap too!
 
Hugs, Nancy
 

Photo Artwork Clip Stick

We have all see the fridge with the cute artwork plastered all over it.  Dear scribbles, felt pen drawings and other things, painted by our little ones.  We are too tender hearted to toss them or even file them away.
 
We no longer need to.  Just make a Clip Stick and change them out at will.  Leave them forever or replace them with new.
 
Use it for forgotten appointments, grocery lists, good thoughts or gifts.  They are wonderful, durable and totally cheap to make.
 

We all want to save and have fun things too!  You will need some spray paint of your color choice.  I used Berry Pink by Rustoleum, great stuff.  I bought it at Home Depot when I was on my way to the Cull Bin in the back of the wood department.  All pieces are sprayed green on the end and are the left over pieces no one wants.  I choose a straight 1" x 2" piece about 45" long.  I did not measure, only guessed.  I took it outside to a plastic draped table and sprayed it on all sides but the bottom.  I let it dry and sprayed it twice more to be sure it was covered, especially the green part.
 
I bought two sets of 3" clips at Wal-mart, two clips come in each package.
 
When the board is dry, measure 1" down from the top and centered side to side, mark with a pencil mark.  Do the same for the bottom.  The stick will be screwed to the wall at these points.  Drill a hold all the way through the wood at the marks you have made.  Depending on the board length, measure 1" down from the anchor hole and then measure 13" down from there, repeating until you run out of board.  My last clip is 6" from the bottom.
 
After the marks are made each 13", center the mark and drill a hole part way through the board, set drill aside and get one clip and one, 3/4" screw.  Place screw through the back hold and screw it down.  It can either face down or sideways depending on your space.  I made mine face down.  Screw each clip at the marked places.
 
Place the clip stick on the wall where you want it, center it, use screws long enough to go through the board and into the wall at least 1/2".  You may need anchor bolts, the ones you pound in and then screw in.  That's it!  So simple yet so handy.
 
Make lots and use them for gifts.
 
Hugs, Nancy


Fun Cabinet

This cabinet is perfect for storage or even entertainment, it is all wood with bamboo slats, clean, well built and now in Merchant Square Antique Marketplace, Booth 104, Chandler, AZ.  Please stop by and enjoy and afternoon looking around.
 
 
$159
This beautiful Basset seven drawer dresser is just into Merchant Square Antique Marketplace, Booth 104, Chandler AZ.  It is a vintage piece with all wood, dovetail corners, so nice.
 
 
$235

Granddaughter's Bedroom

 
We worked on my granddaughters bedroom today.  No painting allowed in the home.  We made up for that with Tinkerbell vinyl from Costco that she picked out.  Total for the stencil of Tinkerbell was $20.  Pillowcase $5.00, headboard free, pile of pillows, recovered with my fabrics, $10.  Photo total $35.00
 
My daughter made the bedspread for the project and it will be her forever quilt.  I had the headboard for six months so I painted it black, did a cute pink stencil in the center and donated it to the room.  That is a pile of pillows for the reading corner, peeking from behind the bed.
 
 
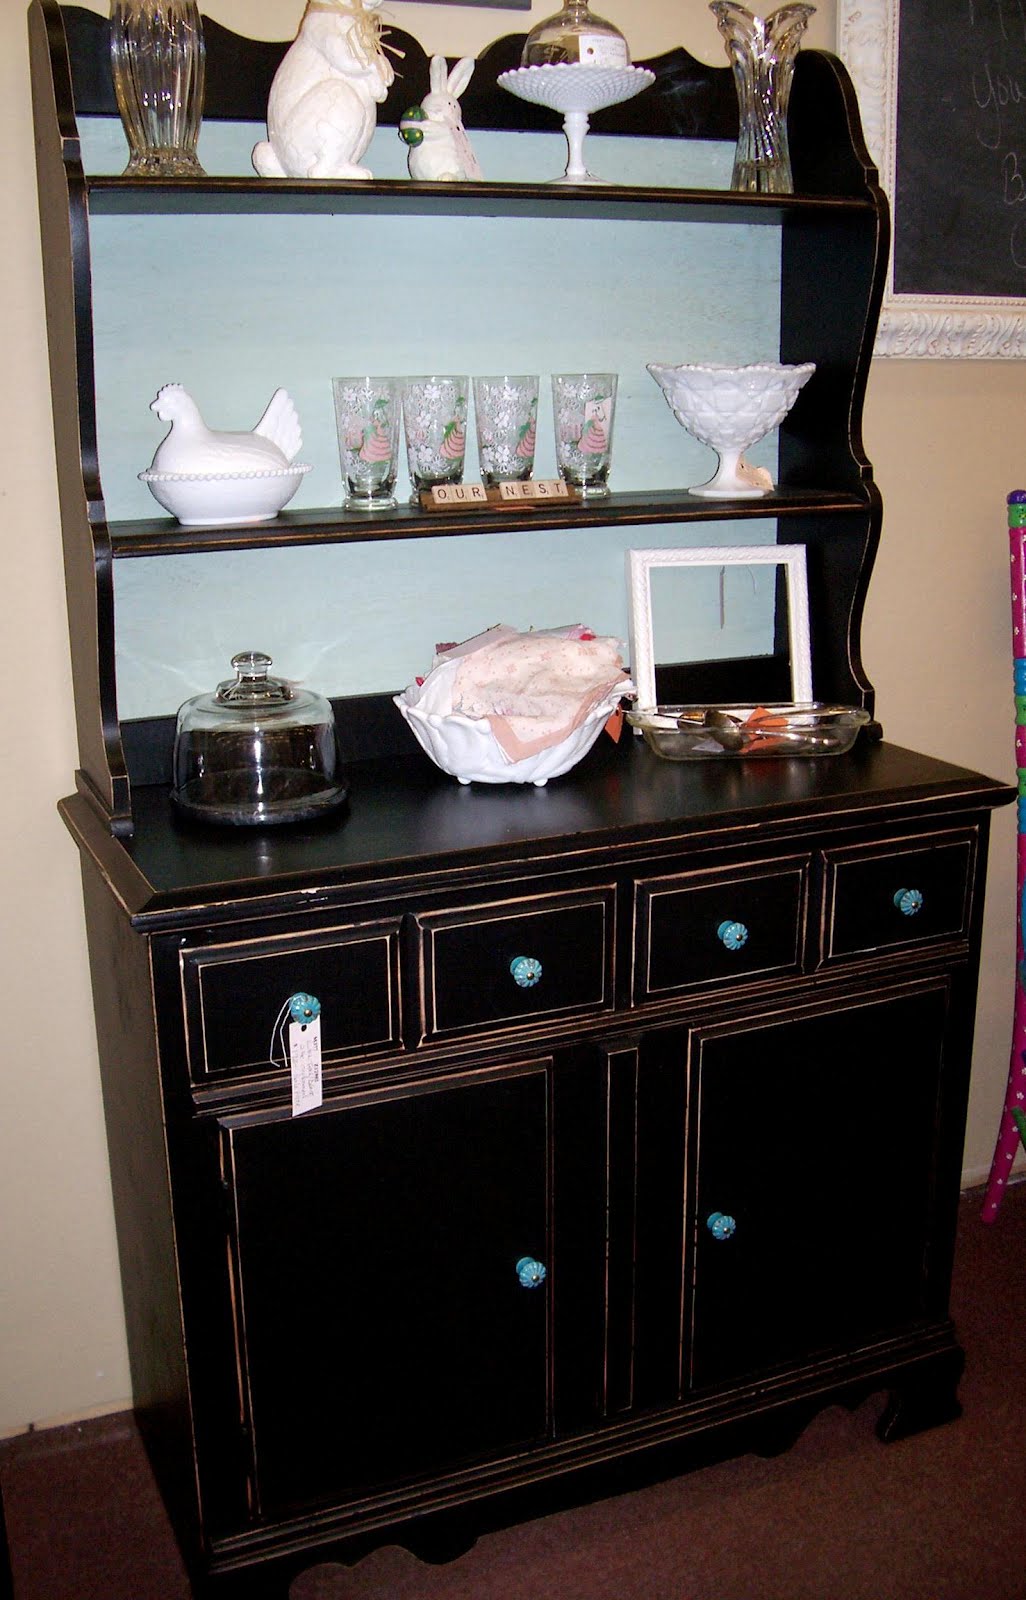
I also has purchased this cute top to an amoire some months ago, put bun feet on it and found that when the doors opened, it tips over.  That is a problem.  I did not feel I could sell it with that problem.  Solution:  Paint it black to match the headboard, add the same stencil and screw it to the wall.  It holds dress up clothes and shoes for now but can be a three shelf, bookshelf when she is older.  The pink bar with hooks, yard sale find for $3.00.  I put a few stencils inside just for fun.  She will be six next week.  The recovered hassock was a donated piece as well as the black amoire as it did not sell in my antique booth.  Cabinet was free, pink bar was $3.00.  Total for this photo is $3.00.


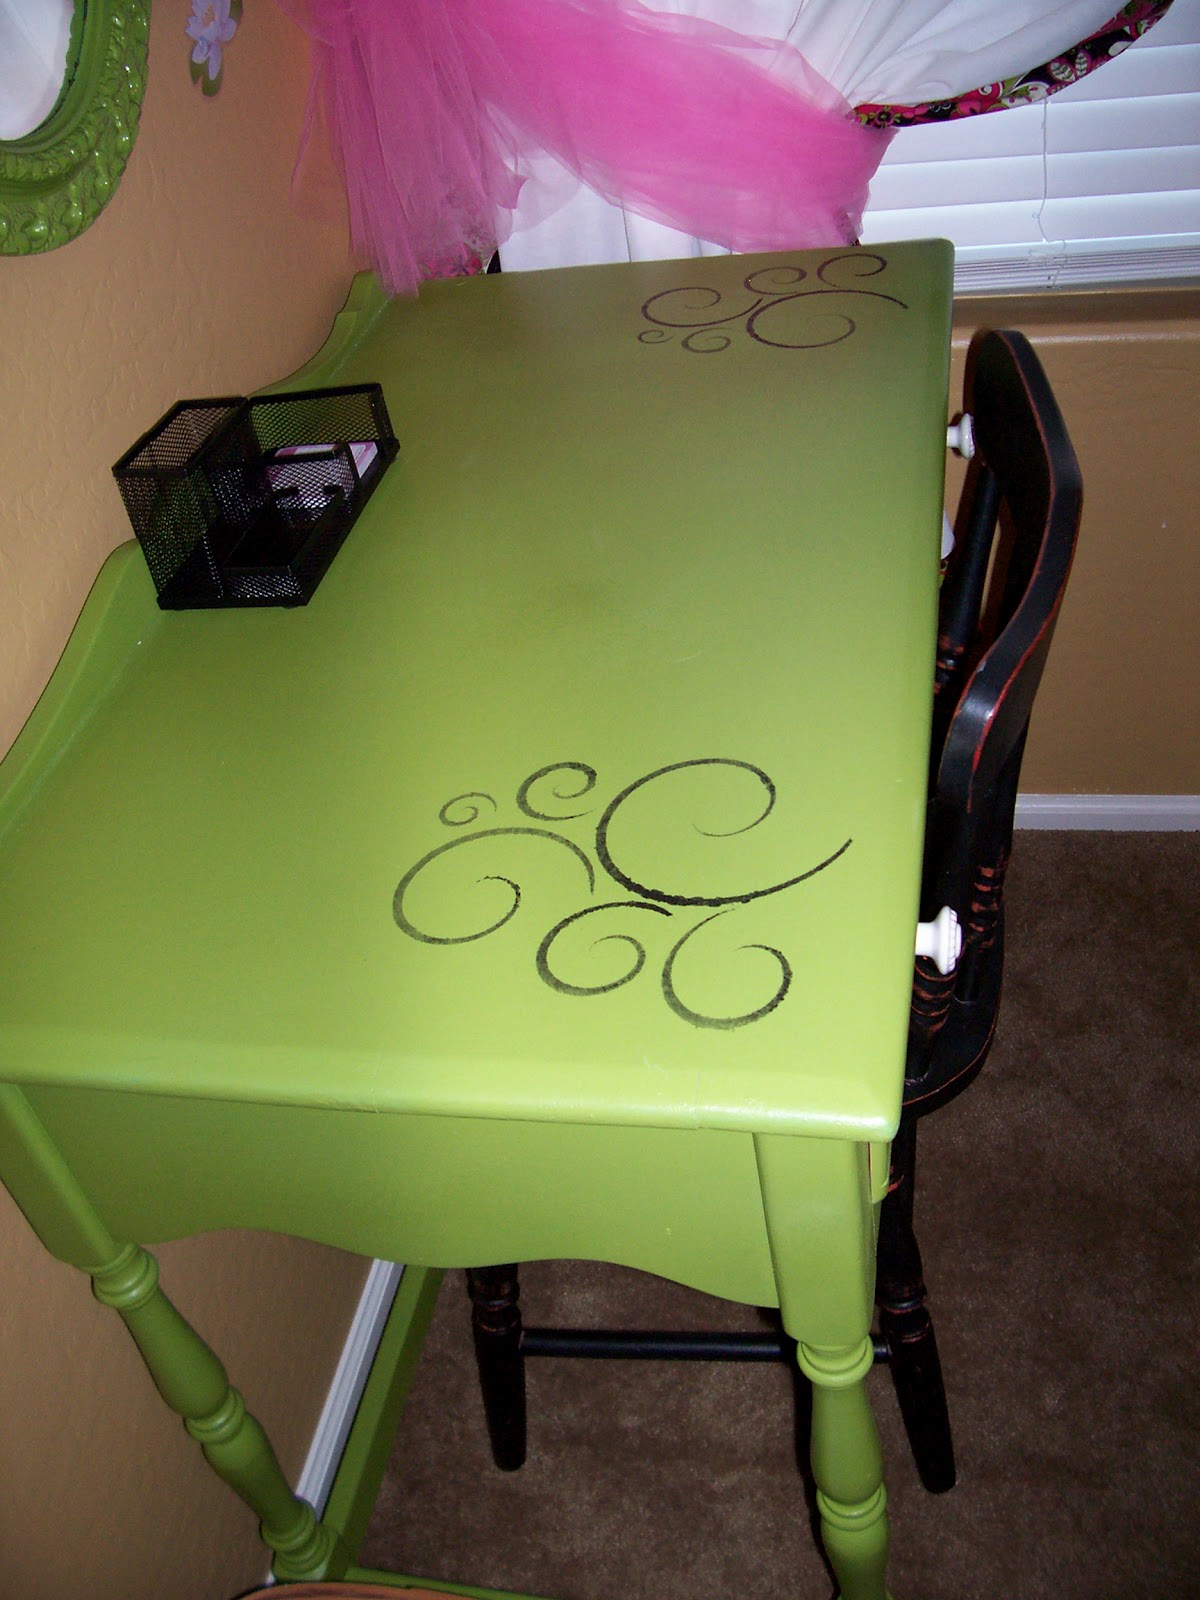
This cute green desk and mirror are being purchased from me for the found price.  The mirror was $10 and the desk $25.  I sprayed them both a fun green from the bedspread quilt.  She had the black chair.  The curtain is a twin flat sheet, new, bordered with extra fabric from the quilt.  It is tied back with tulle I found at Goodwill.  Total for this photo is $27.00
 

I had the frame and used pink Rustoleum paint on it.  The lamp is from Goodwill $5.99, the dresser was a Craigslist find, painted and fixed $155.  It is a vintage Bassett Dresser with five drawers.  Art work will go in the frame.
This room total is $160.99
 
 
Stick with binder clips, spray painted Rustoleum Berry Pink from the quilt will hold art work and can change as often as she wants it too.  No more messy fridge.
 

Decorated.   Total for the clip stick was $ .51 for wood, Home Depot Cull Bin, four clips $4.00 at Wal-Mart.  This photo's cost $4.51.


Her name from JoAnn's for about $14.00 on sale.  So for this photo $14.00


This is one of those dresser mirrors you see at Goodwill but this one came with a dresser I bought this weekend, free.  Berry Pink by Rustoleum spray paint.  Cost for this photo and all the pink paint was $3.95


Three paper poofs from Wal-mart, $1.47 each.
Photo total, $4.41.
 

I thing the stencil on the desk, headboard, dresser and dress-up cabinet turned out fun!  There is also a white 3'x4' run from Goodwill $6.25, not shown by the bed.  Two cans of green Rustolem spray paint was also used and one can of black, $11.85, black bed skirt from Goodwill, new, $4.00. Total for this entry is $18.10
 
Total for makeover


$274.96
 
(The quilt for the bed was not included as my daughter started it five years ago and finished it last night at 1am)

It turned out cute and everyone even Dad was happy with the results.  I can see it needs more on the walls but that will come as they see what else they want to put there.
 
Hugs, Nancy


Saturday, September 22, 2012

A Bedroom Redo for My Granddaughter

This is my granddaughter who is turning six years old in October.  Her Mom, my middle daughter Carrie are redoing her room as a surprise.  We have less than $150 to spend. 
 

She is pictured here with Flat Stanley watching TV.  He is a flat friend that travels.  You mail him to others who take photos of him doing things with them.  It is a fun game to play.
 
So far, I have made three removable cases for pillows, for a reading nook from pillows I no longer wanted and fabric on hand.  The ties keep the cases in place.
 
I am working on making this free headboard black with chalk board paint in the center.  It's not pretty yet but it will be.  I bought two dressers and this came with them.  the dressers are long gone but this I finally can use.
 
I paid $9.99-20%=7.96 for this mirror and it is going bright green.  I love the detailing and bright color.  It matches the quilt her Mother made for her.  It will be a fun pop of color.
 

This desk came from San Diego when we went to baby sit a dog.  We did a little yard saleing and found this for $25.  It will be perfect once it is painted.
 

I found this fun white rug at a thrift store for $7.99 - 20% = 6.40 for this great addition to the room.  I just popped it into the washer on hand wash, shook it out when done, laid it outside to dry and then put it in the dryer on fluff only for five minutes.  Good as new.
 
I also purchased a cute lamp with shade for $7.99-20%=6.40, red bed skirt to cut up and put on the edges of the white sheet for a curtain, $3.99-20%=3.20, white flat sheet for curtain $2.99-20%=2.40, black bed skirt for the bed $3.99=20%=3.20, two wood flowers with pegs for her backpack $ .50 each.  I have a frame and a board so will be making a chalkboard for her, free.
 
Her Mom has bought with a 40% off coupon, her name in black letters.
 

Pillows & covers = Free
Headboard I had = Free
Mirror = $7.96
Desk = $25.00
Rug = $6.40
Two bed skirts =6.40
Curtain (white sheet) =2.40
Two wood flowers = $1.00
Frame and wood for Chalkboard = Free
Lamp with shade = 6.40
Paint = $13.99
 
Total so far $69.55
Working on getting a dresser and bookshelf still.  No walls can be painted to we are being creative in our decorating.
 
Stay tuned, reveal is October 3, 2012
 
Hugs, Nancy

Wednesday, September 19, 2012

Garden Gate

I have an old fashioned garden gate that I have decorated and taken into Merchant Square Antique Marketplace in Chandler.  It is so fun for a porch with the holidays coming.  $75


Thursday, September 13, 2012

Halloween/Fall Wreath


I think this wreath is amazing.  It is bright with the whimsy of black feathers.  The cones go off in lots of directions and the feathers add movement!  So fun on the front door, above a mantle, in the foyer, so many places. 
 
$35
 
Located in BOOTH 104
 
Merchant Square Antique Marketplace
1509 N. Arizona Ave
Chandler, AZ  85225
 
Sweet Rewards Aisle